

One of the must-have tools for makers, hobbyists and developers is a 3D printer. After a long research for the best and most affordable 3D printers on the market, I finally decided to get a Creality Ender 3. It has been a while since I got it and started my 3D printing journey, finally I can share my personal experience with all of you guys.
In this post, I will be sharing my experience with unboxing, assembly and my personal opinion on Creality Ender 3. So without wasting any more time, let’s get straight into it.
Unboxing the Ender 3.
I ordered mine from Amazon India for ₹12,500 (around $162 US). Creality Ender 3 is the cheapest 3D printer in the Indian market as of now. The price has hicked a bit since then but you can still get it for around the same price during a sale.
After the order was placed I received the printer after 4 days and it wasn’t exactly what I expected. The packaging was not as I had seen in all the unboxing videos on Youtube.
Affiliate Links to purchase Ender 3:
Note: By purchasing products from our affiliate links, you support us.
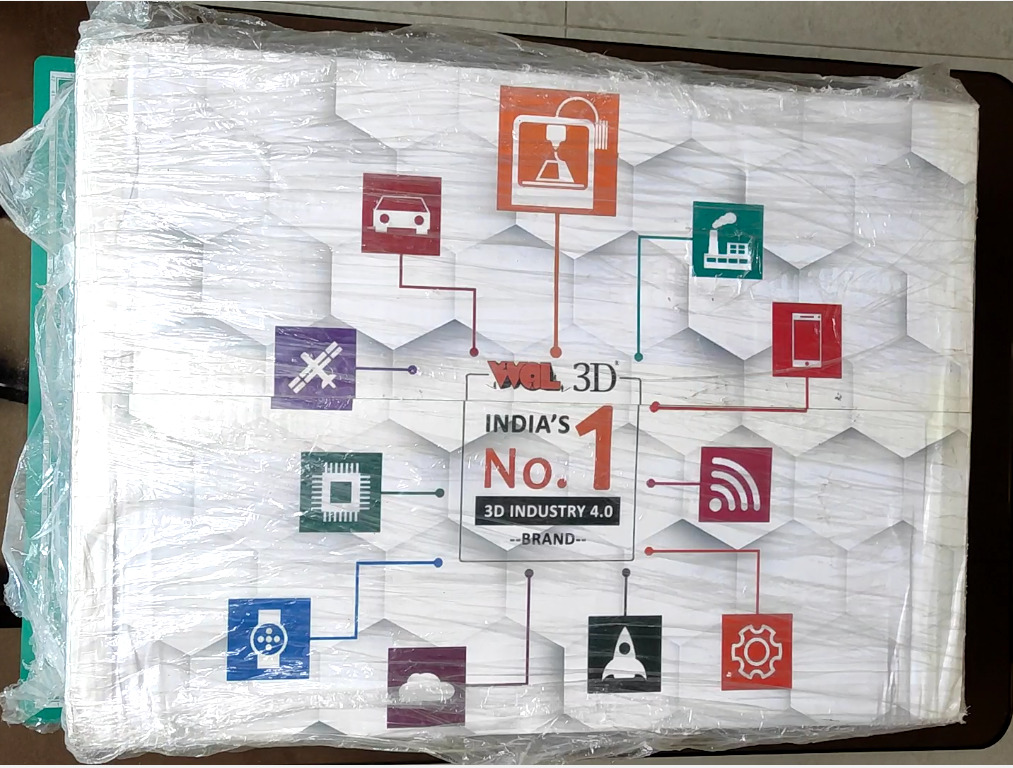
What I received was a box by WOL3D. Nonetheless, after unboxing I did get the following:
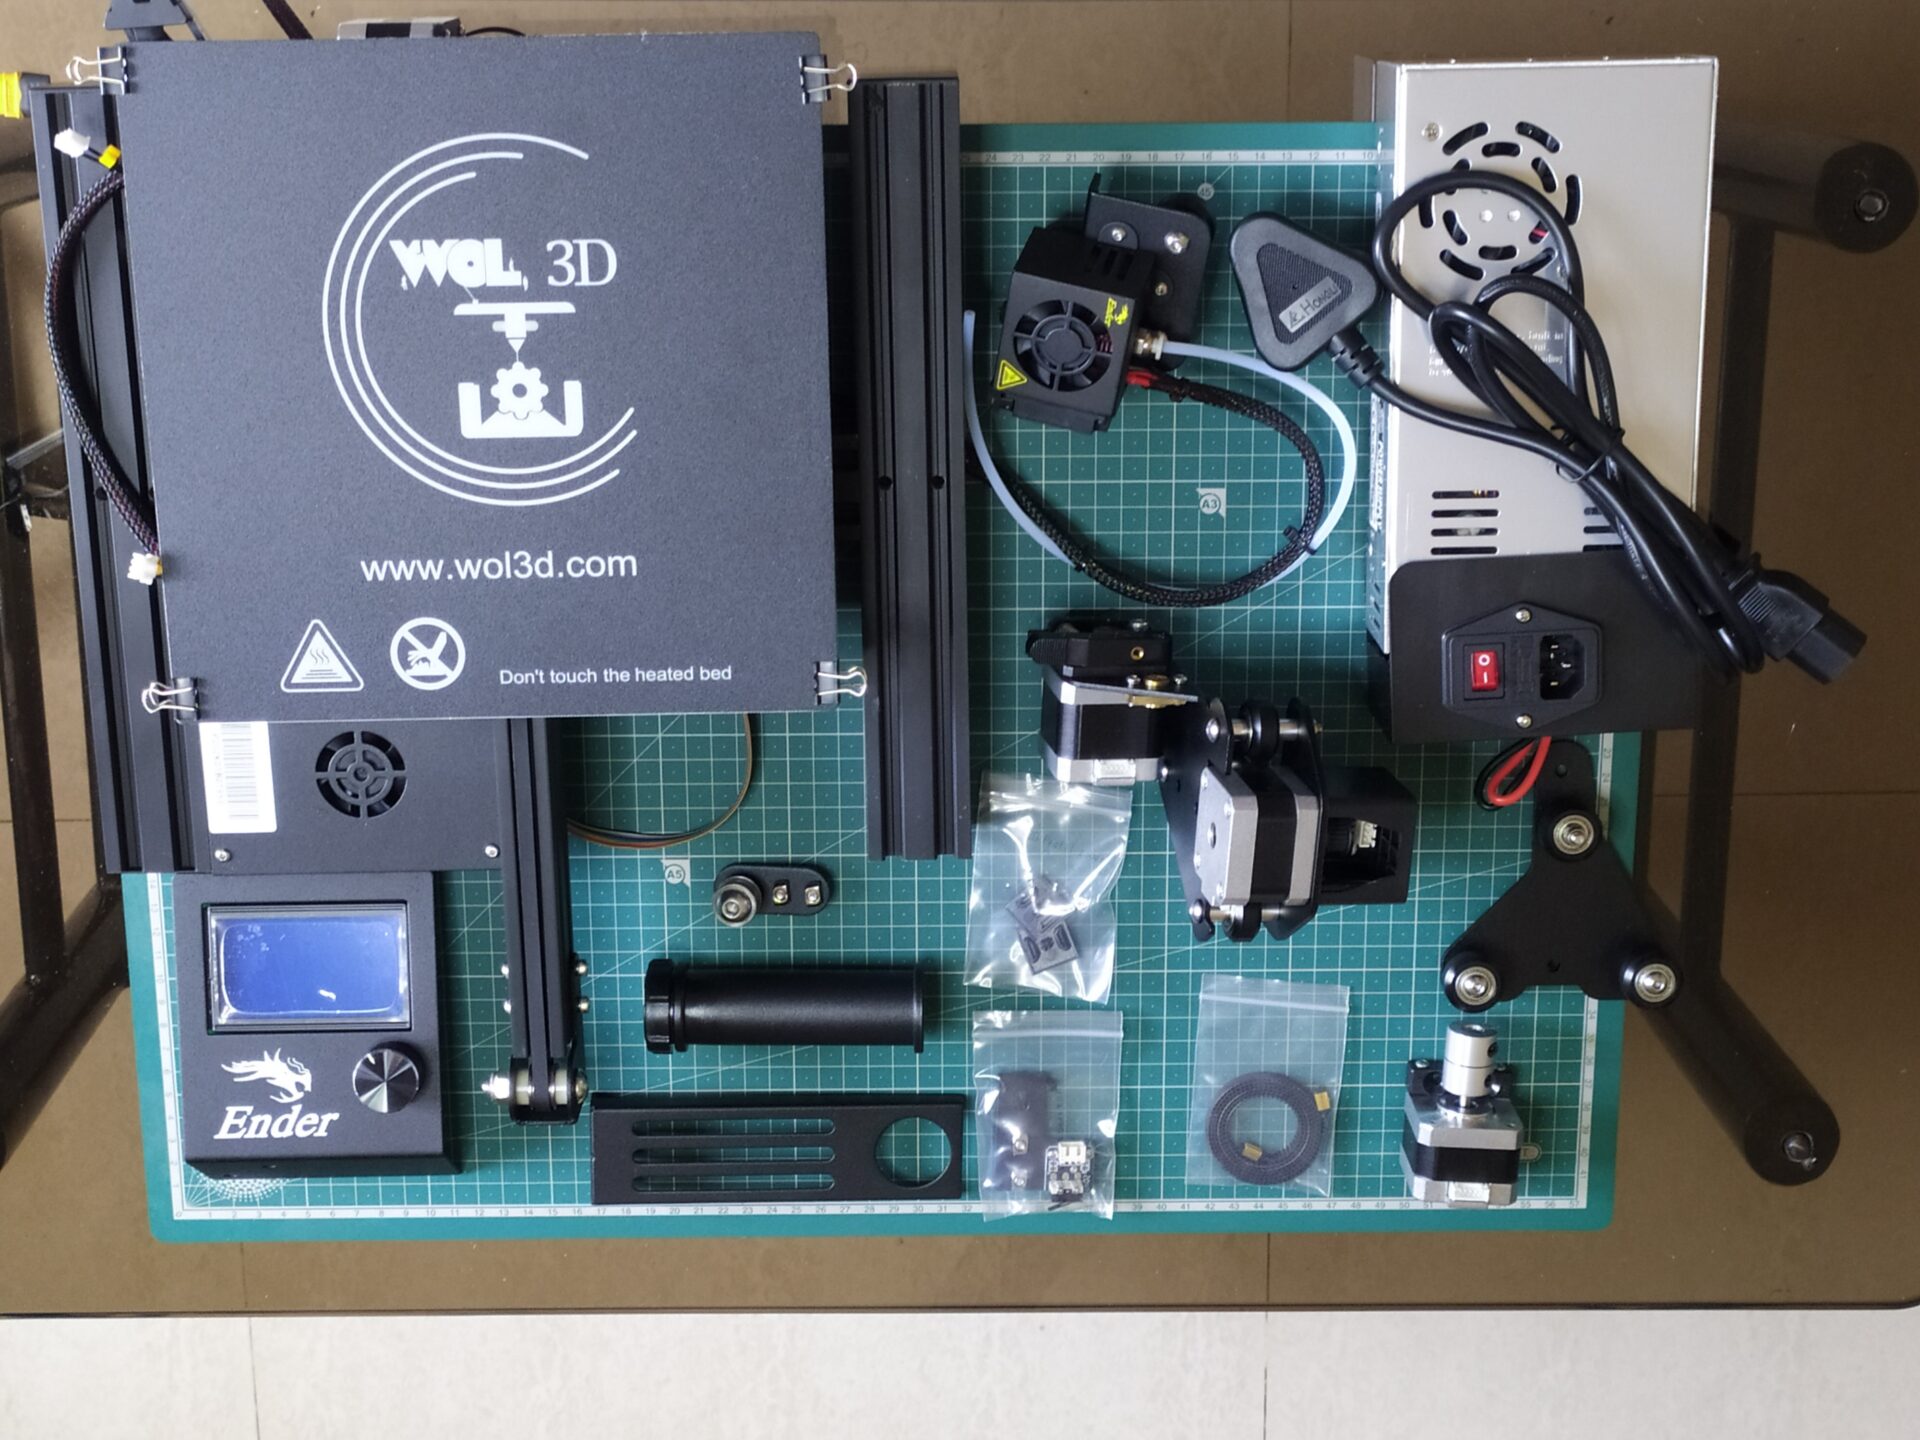

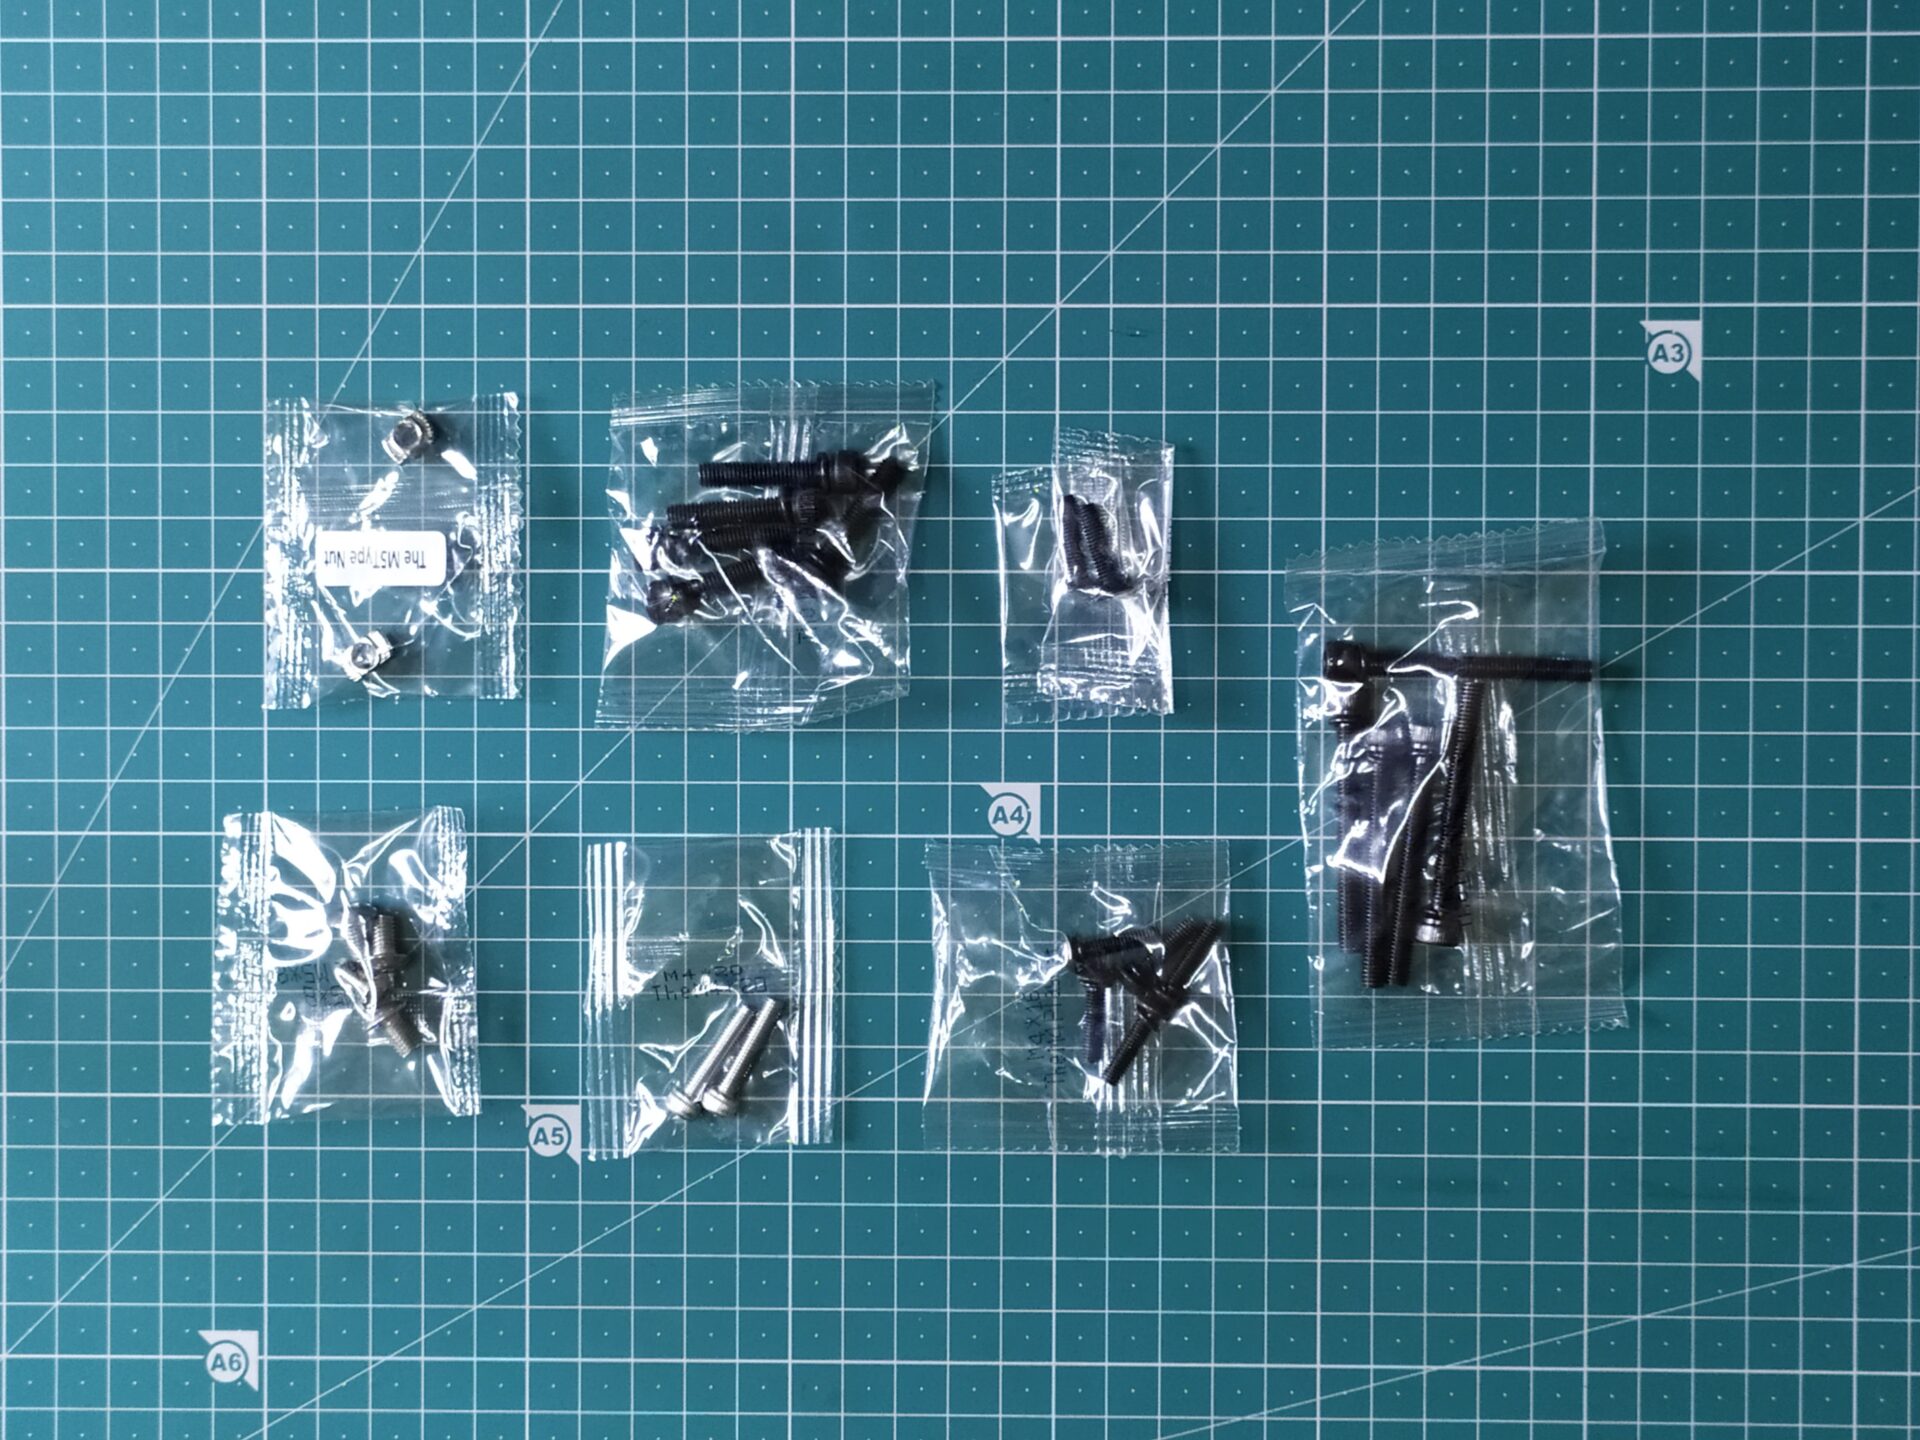
Inside was everything required to assemble the Ender 3 along with a detailed manual. This is good but I preferred the video instructions to assemble it as it was more precise and easier to follow.
In the box, we get an SD card reader and an 8GB SD card which contains a detailed assembly video. Which I found out at the end of my assembly. But now you know.
Assembling the Ender 3.
Now I am not going to bore you with assembly details which you can easily find in the manual and in videos online. What I want to share is my experience here and hope you can learn from it.
For starters, I needed the help of a friend to assemble it. So for first timers, not as easy as they claim it to be. At least for me, little help made it easier. Now I can do it alone well within an hour.
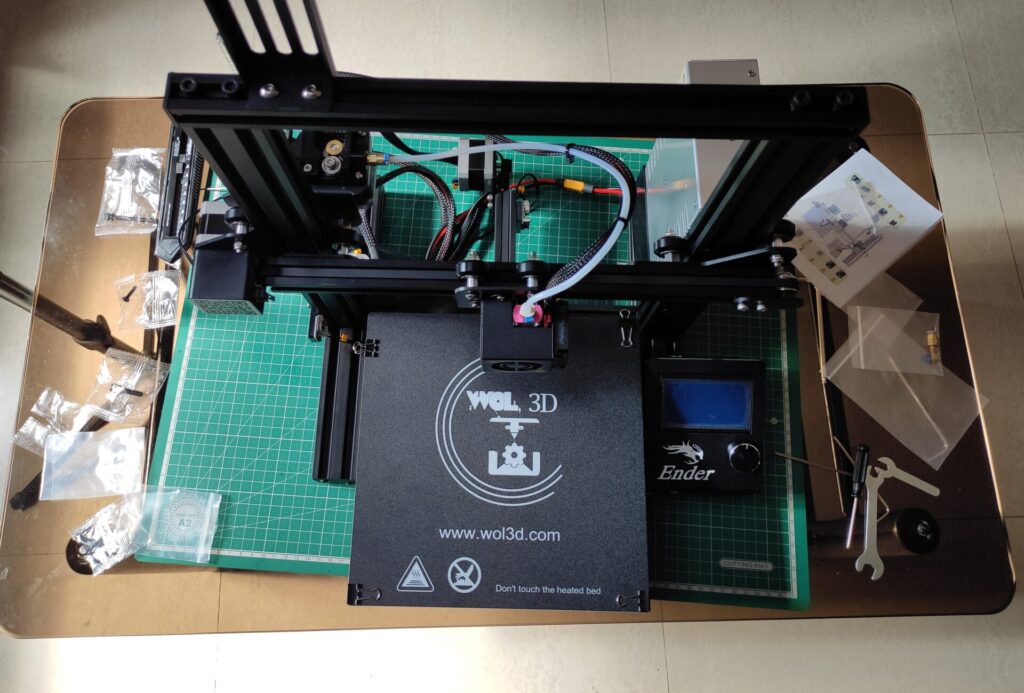
It took us nearly 2 hours to assemble it and here are some problems we faced.
- Make sure the two verticle bars were straight. It is very important that these extrusions are at 90 degrees. Initially, we made a little mistake as the extrusion on right was a little tilted and the power supply would not fit perfectly. After fiddling with it for a while I did manage to make it straight.
- One of the most important things is to set the X-axis perfectly. It took me the longest to set this part up. I highly suggest referring to videos rather than manuals for this process as it is a bit confusing.
- After assembling everything, I made sure there were no zip ties holding anything in place and that everything moved smoothly. That’s when I noticed there were 2 ties holding the bed. Good thing I didn’t power it up. So make sure you do check it beforehand.
After checking everything I finally make the connections which are very straightforward, Each connection is labelled and the wire is labelled with a matching tag, So it is just plugging them and the printer is ready to go.
My First 3D Print.
After assembly is complete, all that remains is plugging in the cod and hitting the power switch on the SMPS and the printer starts to boot. It takes about a minute to boot and we can see the display with all the necessary information.
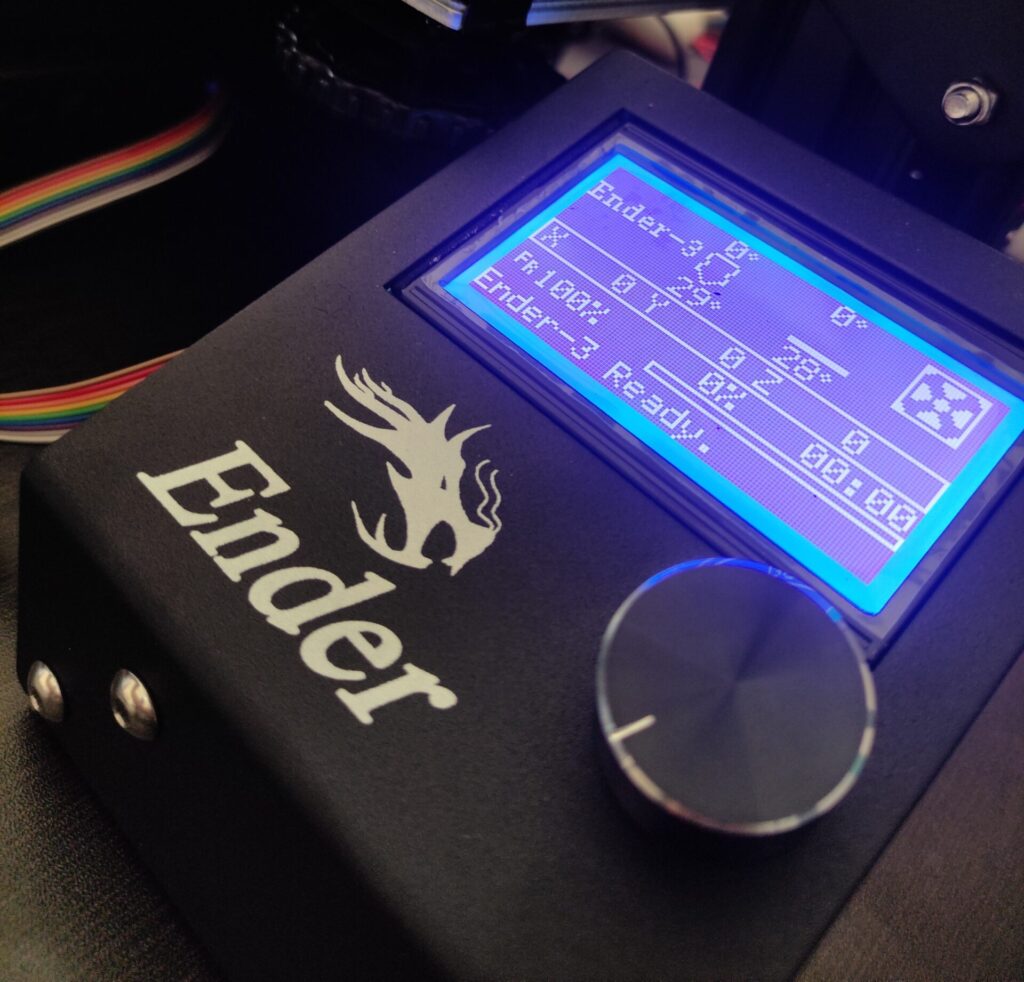
On the screen, we can see the temperature of Hotend and the bed along with X, Y and Z coordinates. Below that we can see the timeline of our print, which tells us how much of the print is completed and how much time it has taken so far. And very importantly at the bottom, we get a message “Ender-3 is ready”. If for some reason you do not get this message on the first boot, try switching the printer off and on again. As I faced a similar problem and restarting helped me.
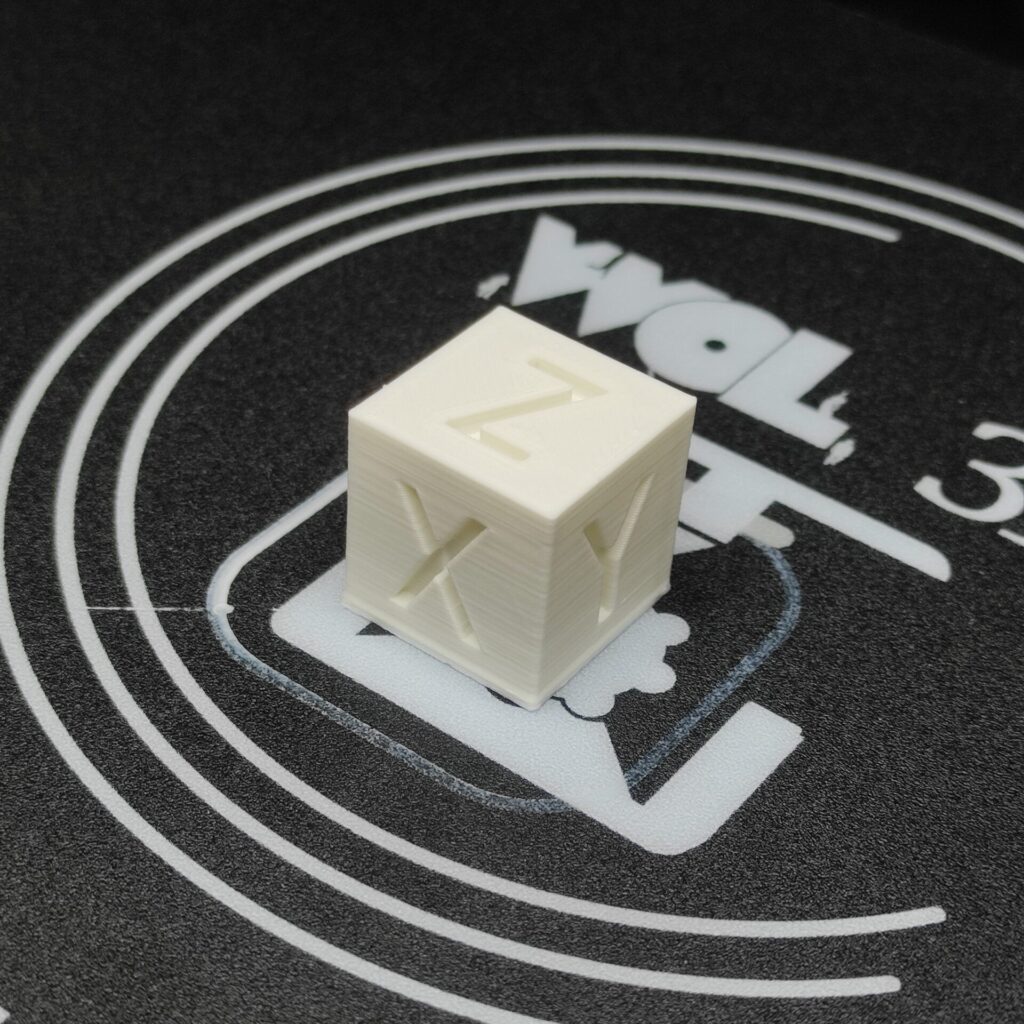
Now to test the 3D printer I used the calibration cube by CHEP. It is a 20x20x20 mm cube which helps us understand what needs to be adjusted in our 3D printer. For slicing the STL file, I used Ultimaker Cura as it is one of the most popular slicers and many videos that I watched recommended it.
First Failed Print.
Now, this wasn’t a bad print overall, it was good for a beginner but it was not accurate. After using a calliper to measure the dimensions, I realized that the cube was about 2mm short on Z-axis.
After spending almost a day trying to figure out the problem I realised there was something wrong with the bed. It was warped in the middle because of which the nozzle was getting too close to the bed and creating an “Elephant’s foot” at the base of the print.
So the problem was clear that the bed was warped in the centre and I tried everything I could to fix it, but nothing seemed to work. After doing some online research I found two possible solutions
- Getting a BL touch module
- Getting a better print bed (Magnetic or Glass)
I chose the second option as it was quick, easy and cheap. I got an official magnetic bed for Creality Ender 3.
Here are the results:
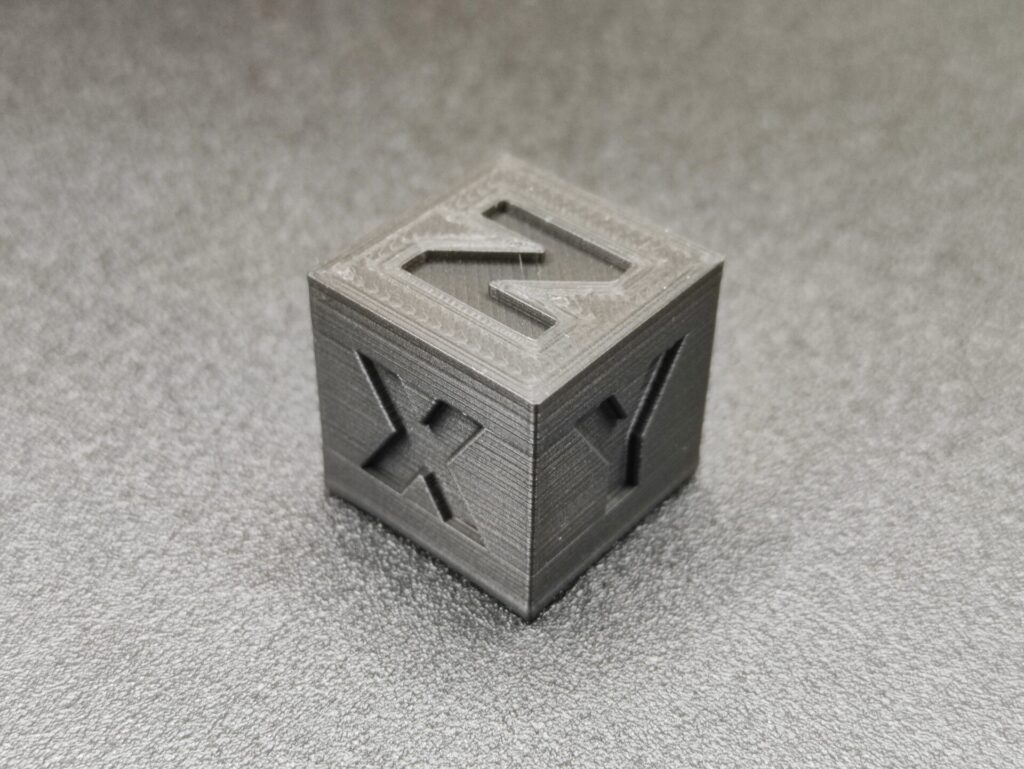
Success!
So after changing the bed and also getting a new roll of e-PLA, this is the calibration cube. It is very accurate and though it has a slight bulge at the foot, It is because I kept the nozzle too close to the bed.
I would also like to mention that I received a lot of help from this Facebook group. As I struggled through the setup and getting better prints, the community helped a lot.
Final Review of Creality Ender 3.
After using the Ender 3 for over 3 months I finally feel ready to share my experience with it.
So I will share a list of Pros and Cons of the 3D printer.
Pros:
- The printer was fairly easy to set up considering I am a beginner with no prior experience with 3D printing.
- The print quality is amazing. I have ordered 3D prints from printing factories before and the prints I got from Ender 3 were impossible to distinguish from the ones made in factories.
- There is a huge active community around Ender printers and they are always ready to help. Which makes it very easy for a beginner to get into the hobby.
- Another thing I looked into after using the printer for a bit was all the 3D printed mods available. I have tried a few and it is an ongoing process. This is one of the most amazing things about Ender 3, you can improve it without having to break your bank.
Cons:
- First, and the most annoying thing about the Ender 3 is its print bed. The default print bed is just horrible, it has problems with warping, adhesion and even the texture which felt uneven. in fact, if you get yourself an Ender 3, one of the first things that I would recommend is to get yourself a better print bed: Glass or Magnetic.
- Another thing that annoyed me a bit was its noise. The stepper motors are quiet and perfect but the cooling fans make all the noise. It isn’t much noticeable during the day but at night it sounds like a jet.
- Although it is fairly easy to assemble for tinkerers and makers, this isn’t an ideal printer for people who are looking for a finished product to plug and play with. For people who have little or no experience with assembling kits and doing DIY stuff, this will be a time consuming and tedious process.
And that’s all I have to say about this printer. At the price point, I didn’t expect much but Creality Ender 3 delivered more than my expectations. I hope this article sharing my experience with beginning the journey into the world of 3D printing will help you get started.
If you do like this article and want more like it, consider subscribing to the newsletter. Do check out, “Nibble – an educational gaming console” and “Pluto 1.2 programmable nano drone“.
One thought on “Creality Ender 3: My First 3D Printer.”